Get Started with DR Testing
Disaster Recovery (DR) Testing validates that your systems can recover from catastrophic failures. Each DR test is a Harness pipeline stage, giving you the full power of Pipeline Studio to orchestrate failover, validation, and notification steps in a repeatable, auditable workflow.
DR Testing is currently behind a feature flag (CHAOS_DR_TESTING_ENABLED). Contact your Harness sales representative to get it enabled for your account.
Prerequisites
- Access to the Harness Resilience Testing module
- A Harness environment configured in your project
- A Kubernetes Chaos Infrastructure connected to the cluster where your target application runs (required for Chaos Fault and Chaos Probe steps)
- Appropriate permissions to create pipelines
Create your first DR test
- Navigate to Resilience Testing > DR Testing
- Click + New DR Test
The DR Testing list shows all DR tests in the project with their Recent Executions, Last Execution status, and Last Modified timestamp.
Step 1: DR Test Details
In the Create new DR Test dialog, fill in:
| Field | Description |
|---|---|
| Name | A descriptive name for the DR test |
| Id | Auto-generated from the name. Editable via the pencil icon. |
| Description | (Optional) Details about the disaster scenario being tested |
| Tags | (Optional) Labels to organize tests |
| Objective | (Optional) The goal or success criteria for this DR test |
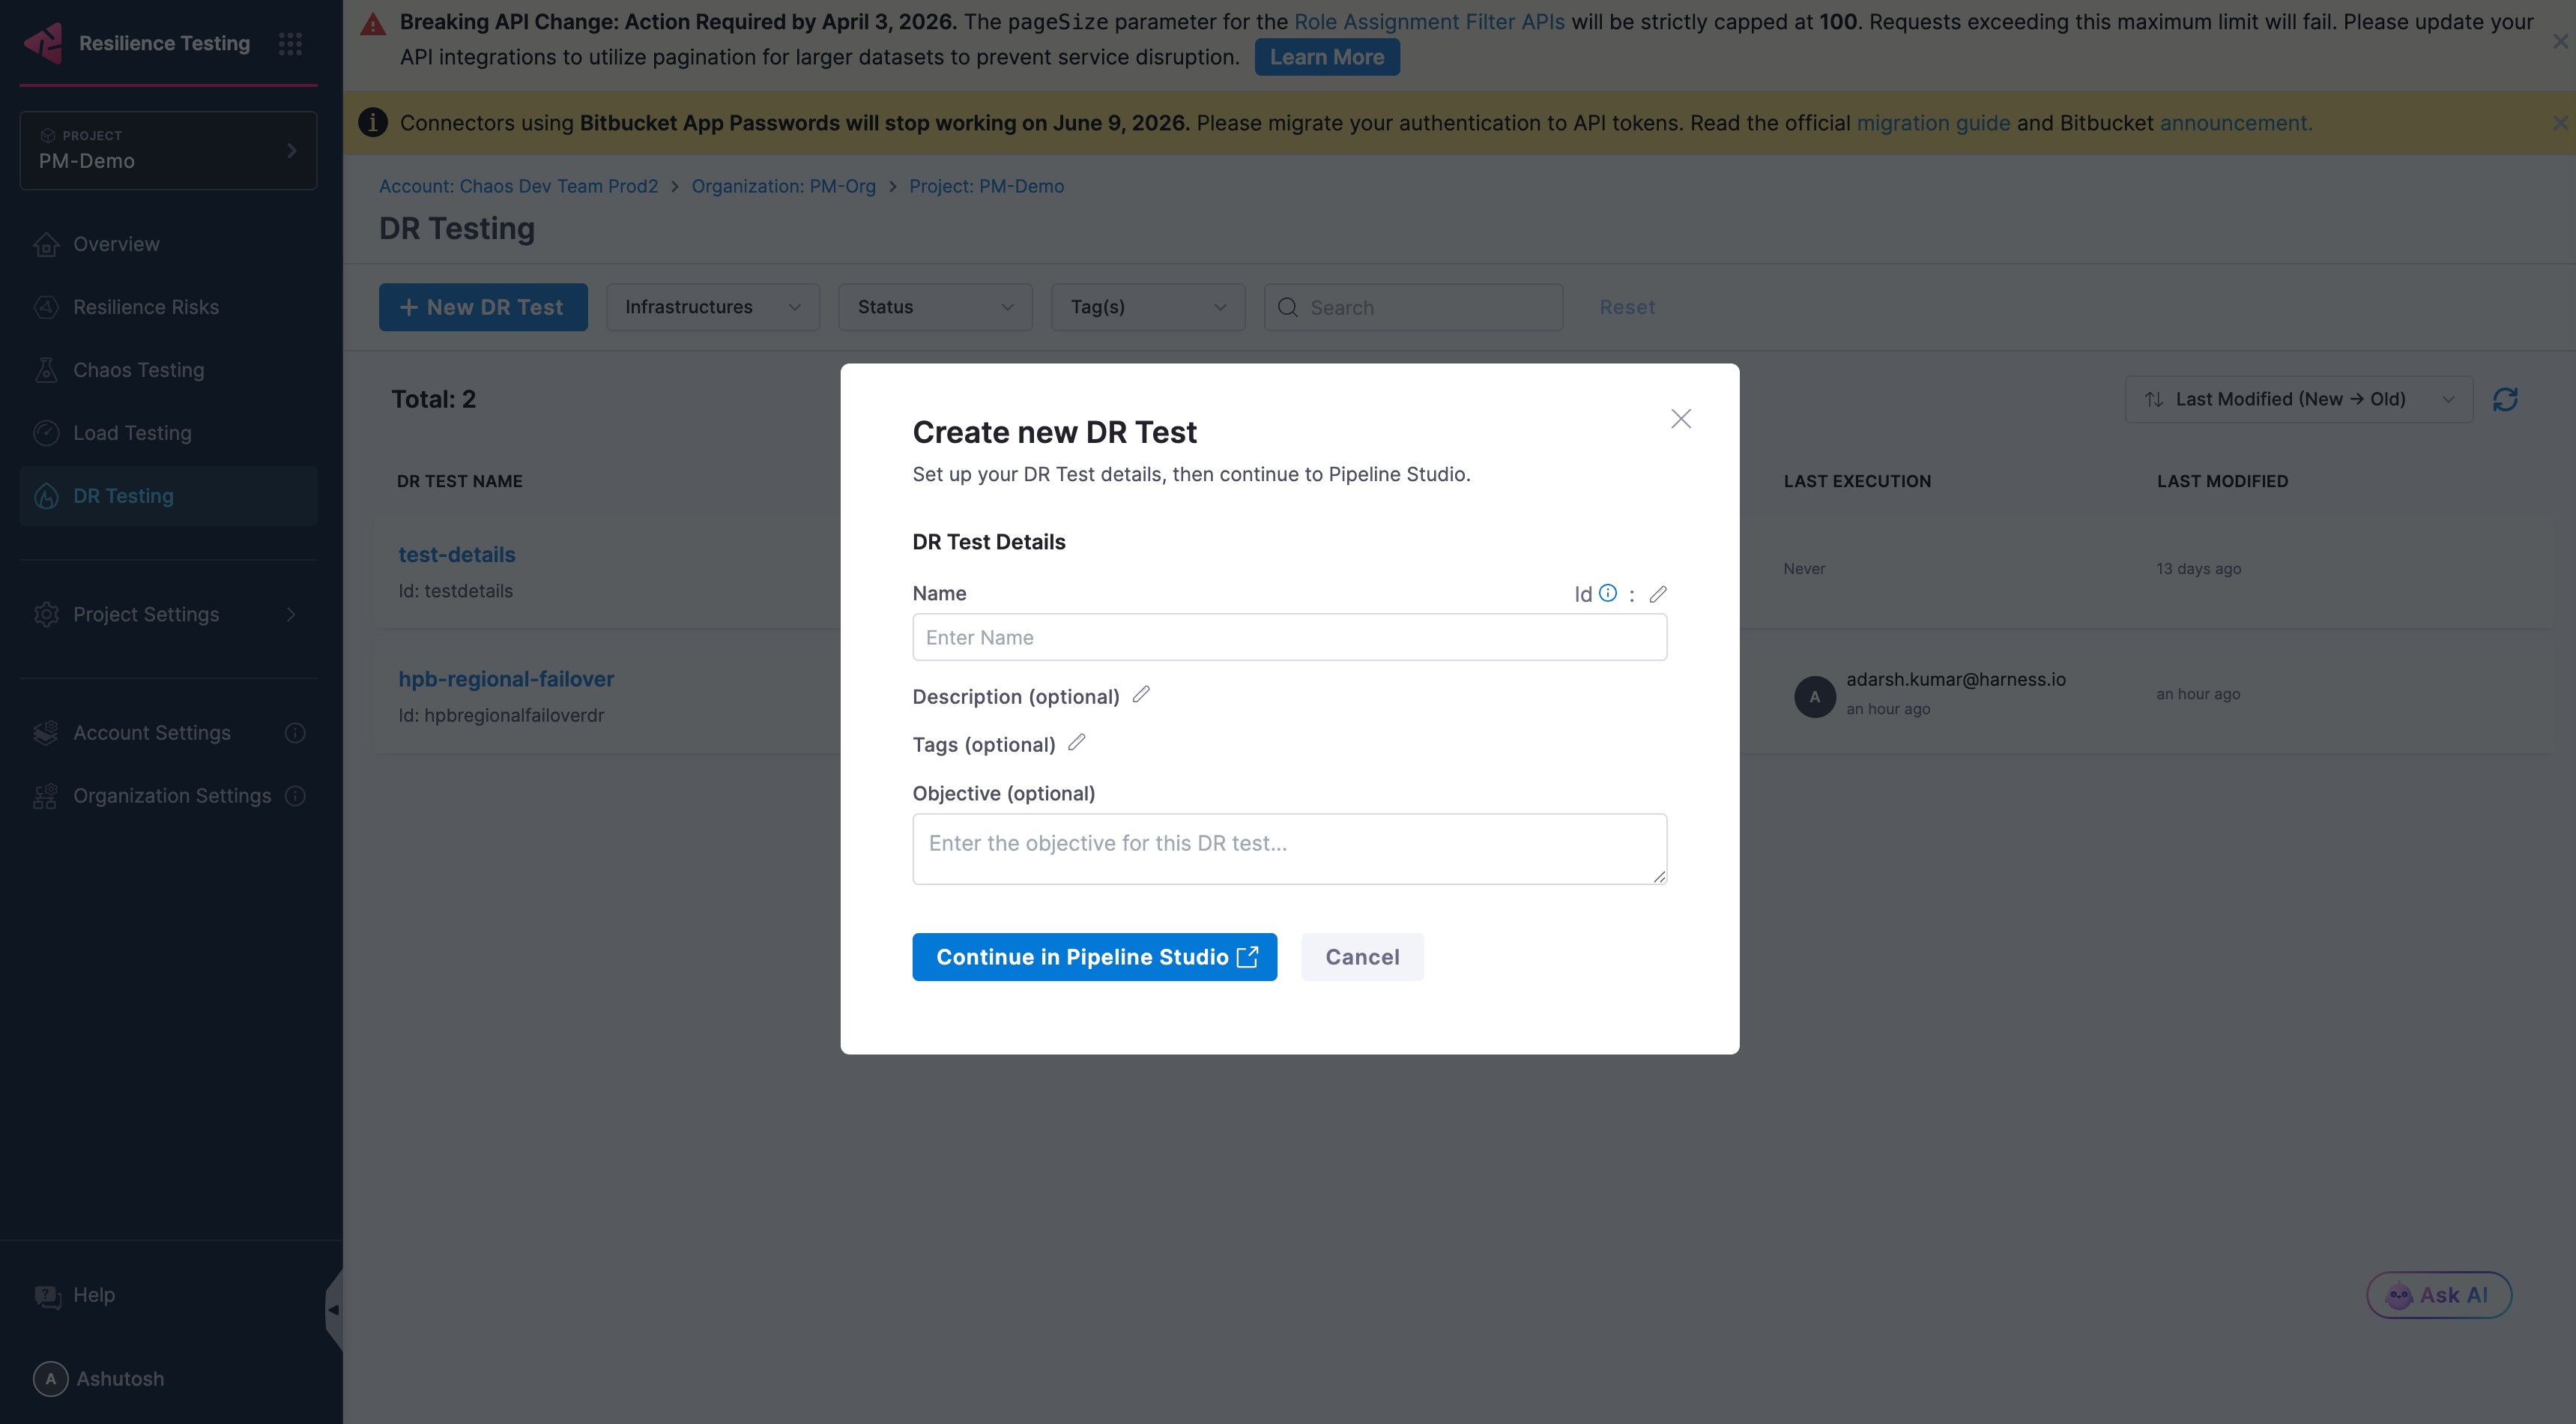
Click Continue in Pipeline Studio to open the pipeline stage editor.
Step 2: Configure the Pipeline Stage
Each DR test is a stage in a Harness pipeline. Pipeline Studio has four tabs: Overview, Environment, Execution, and Advanced.
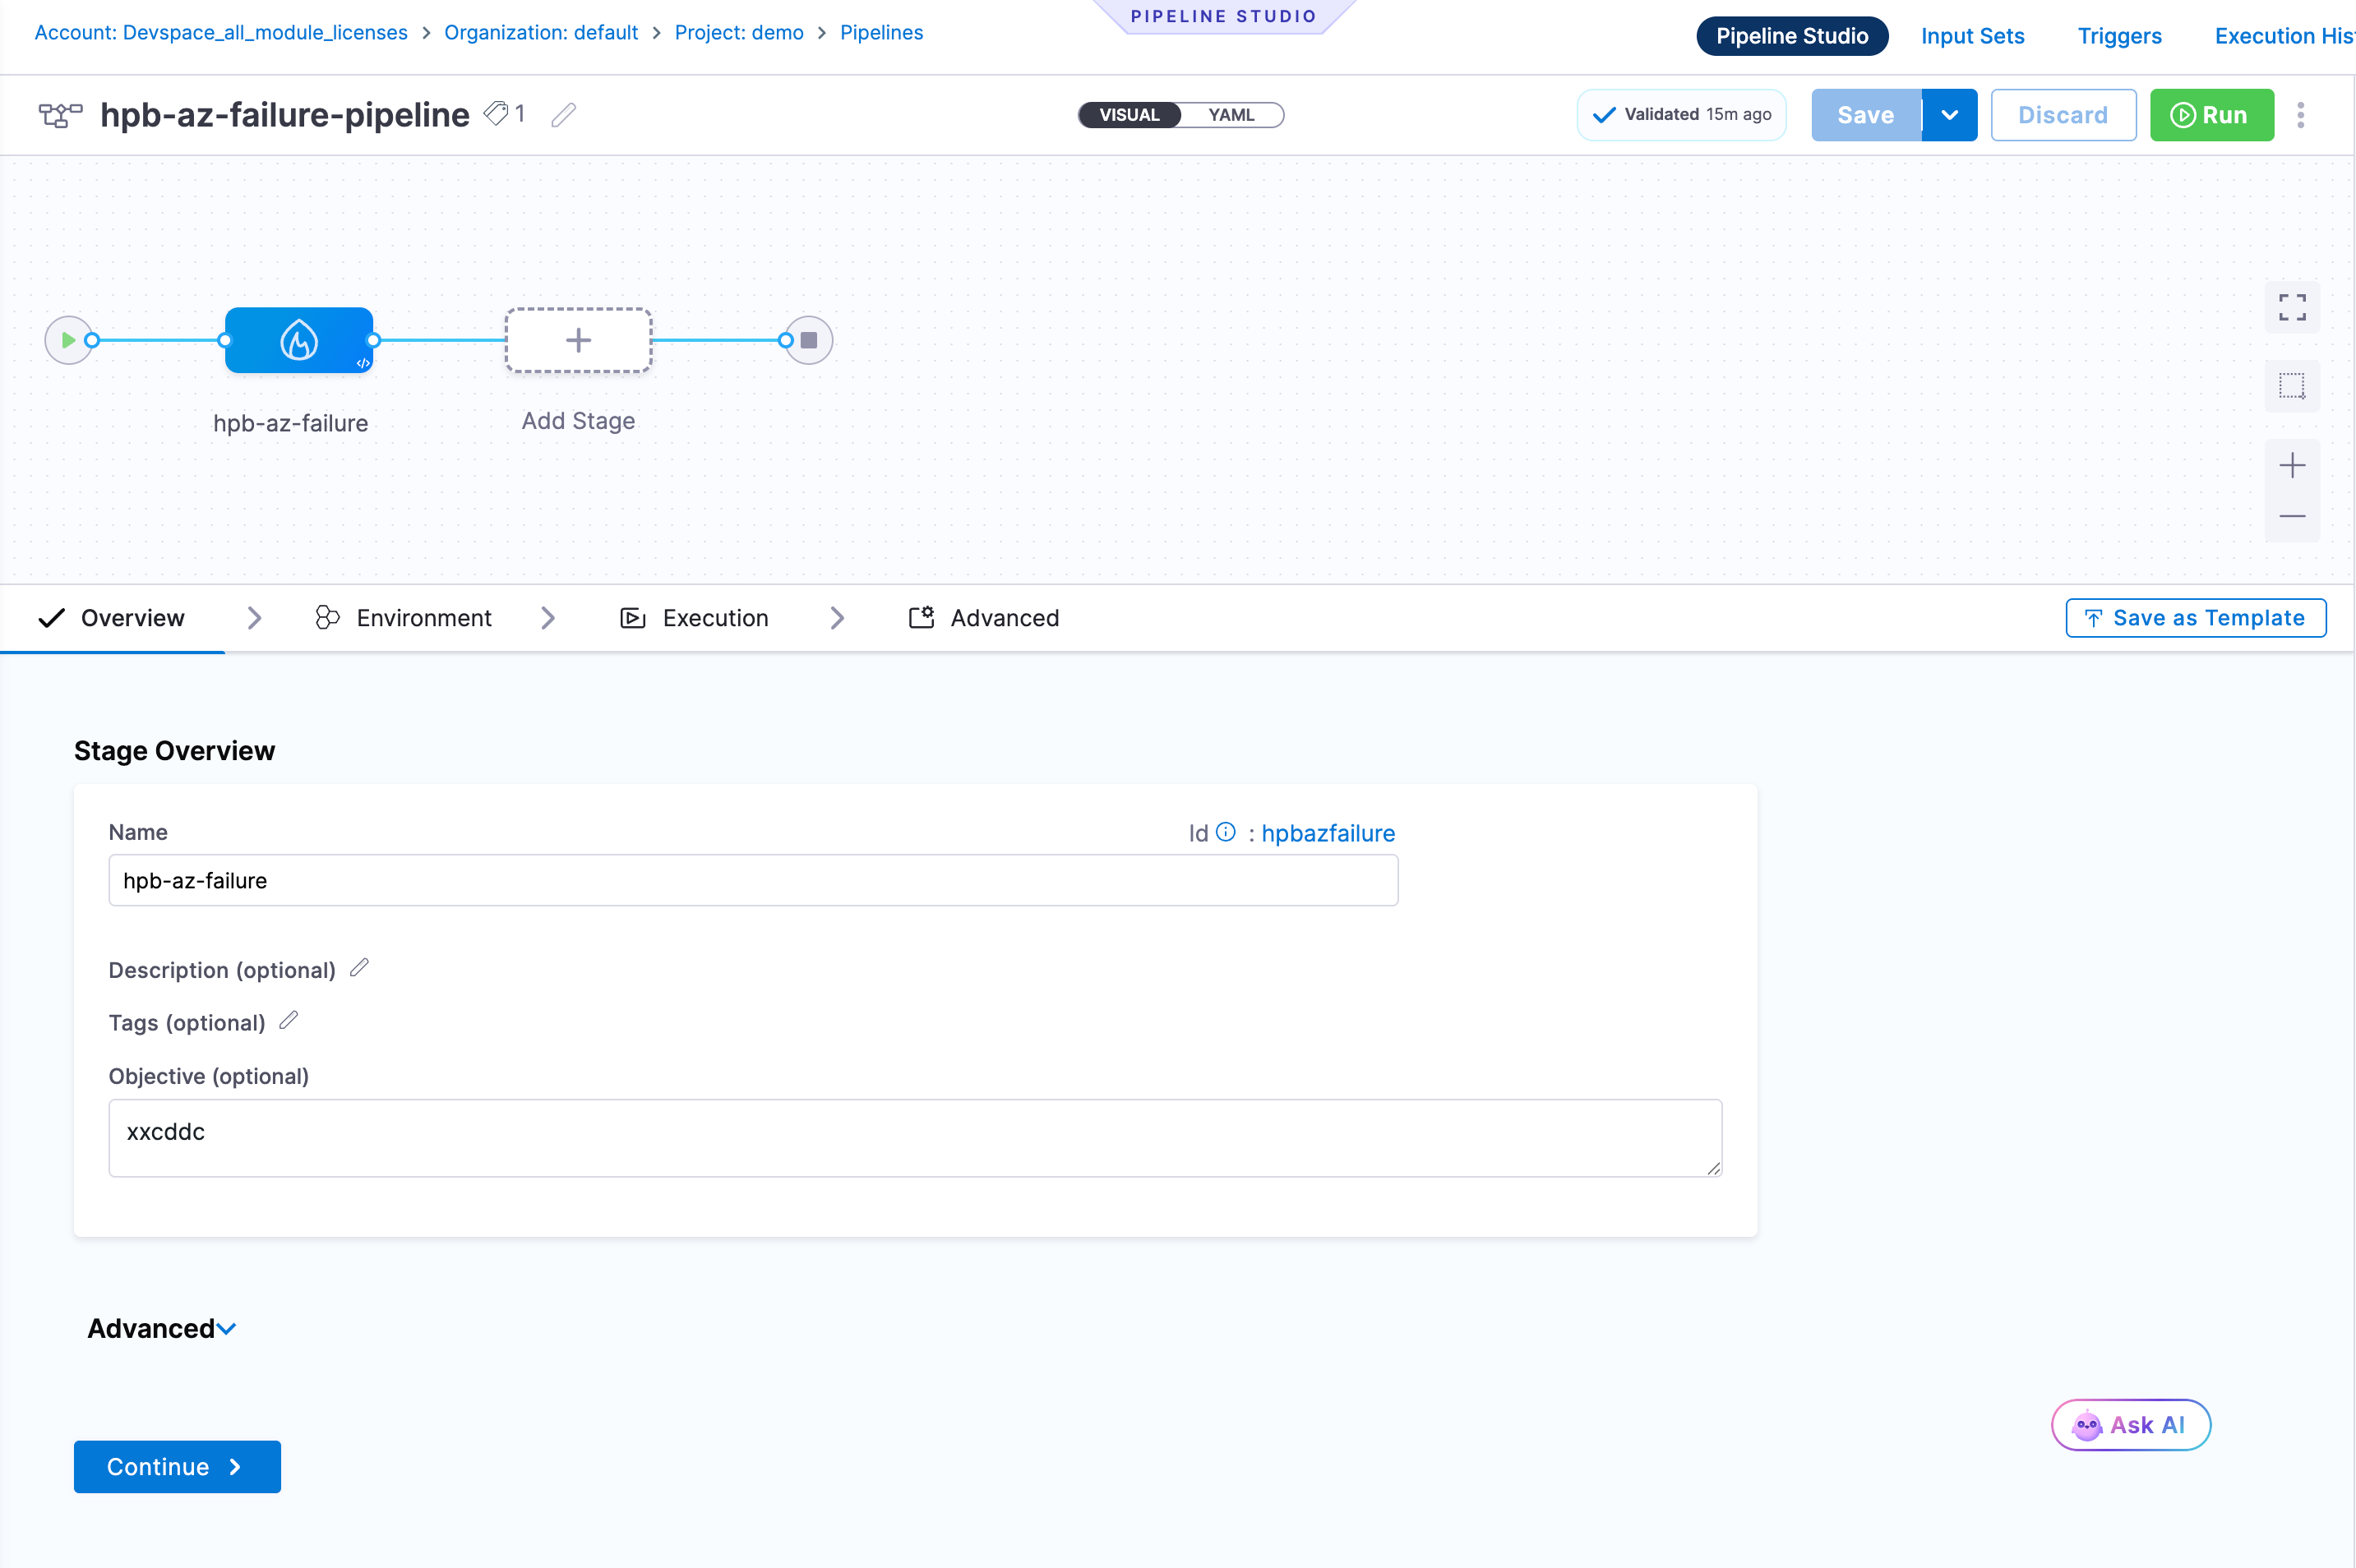
Overview Tab
The stage overview is pre-populated from the DR test details you entered. You can edit:
- Name and Id
- Description, Tags, and Objective
The Advanced section within Overview lets you configure:
- Timeout: Maximum time the stage is allowed to run (format:
w/d/h/m/s) - Stage Variables: Key-value variables scoped to this stage, available in steps via expressions
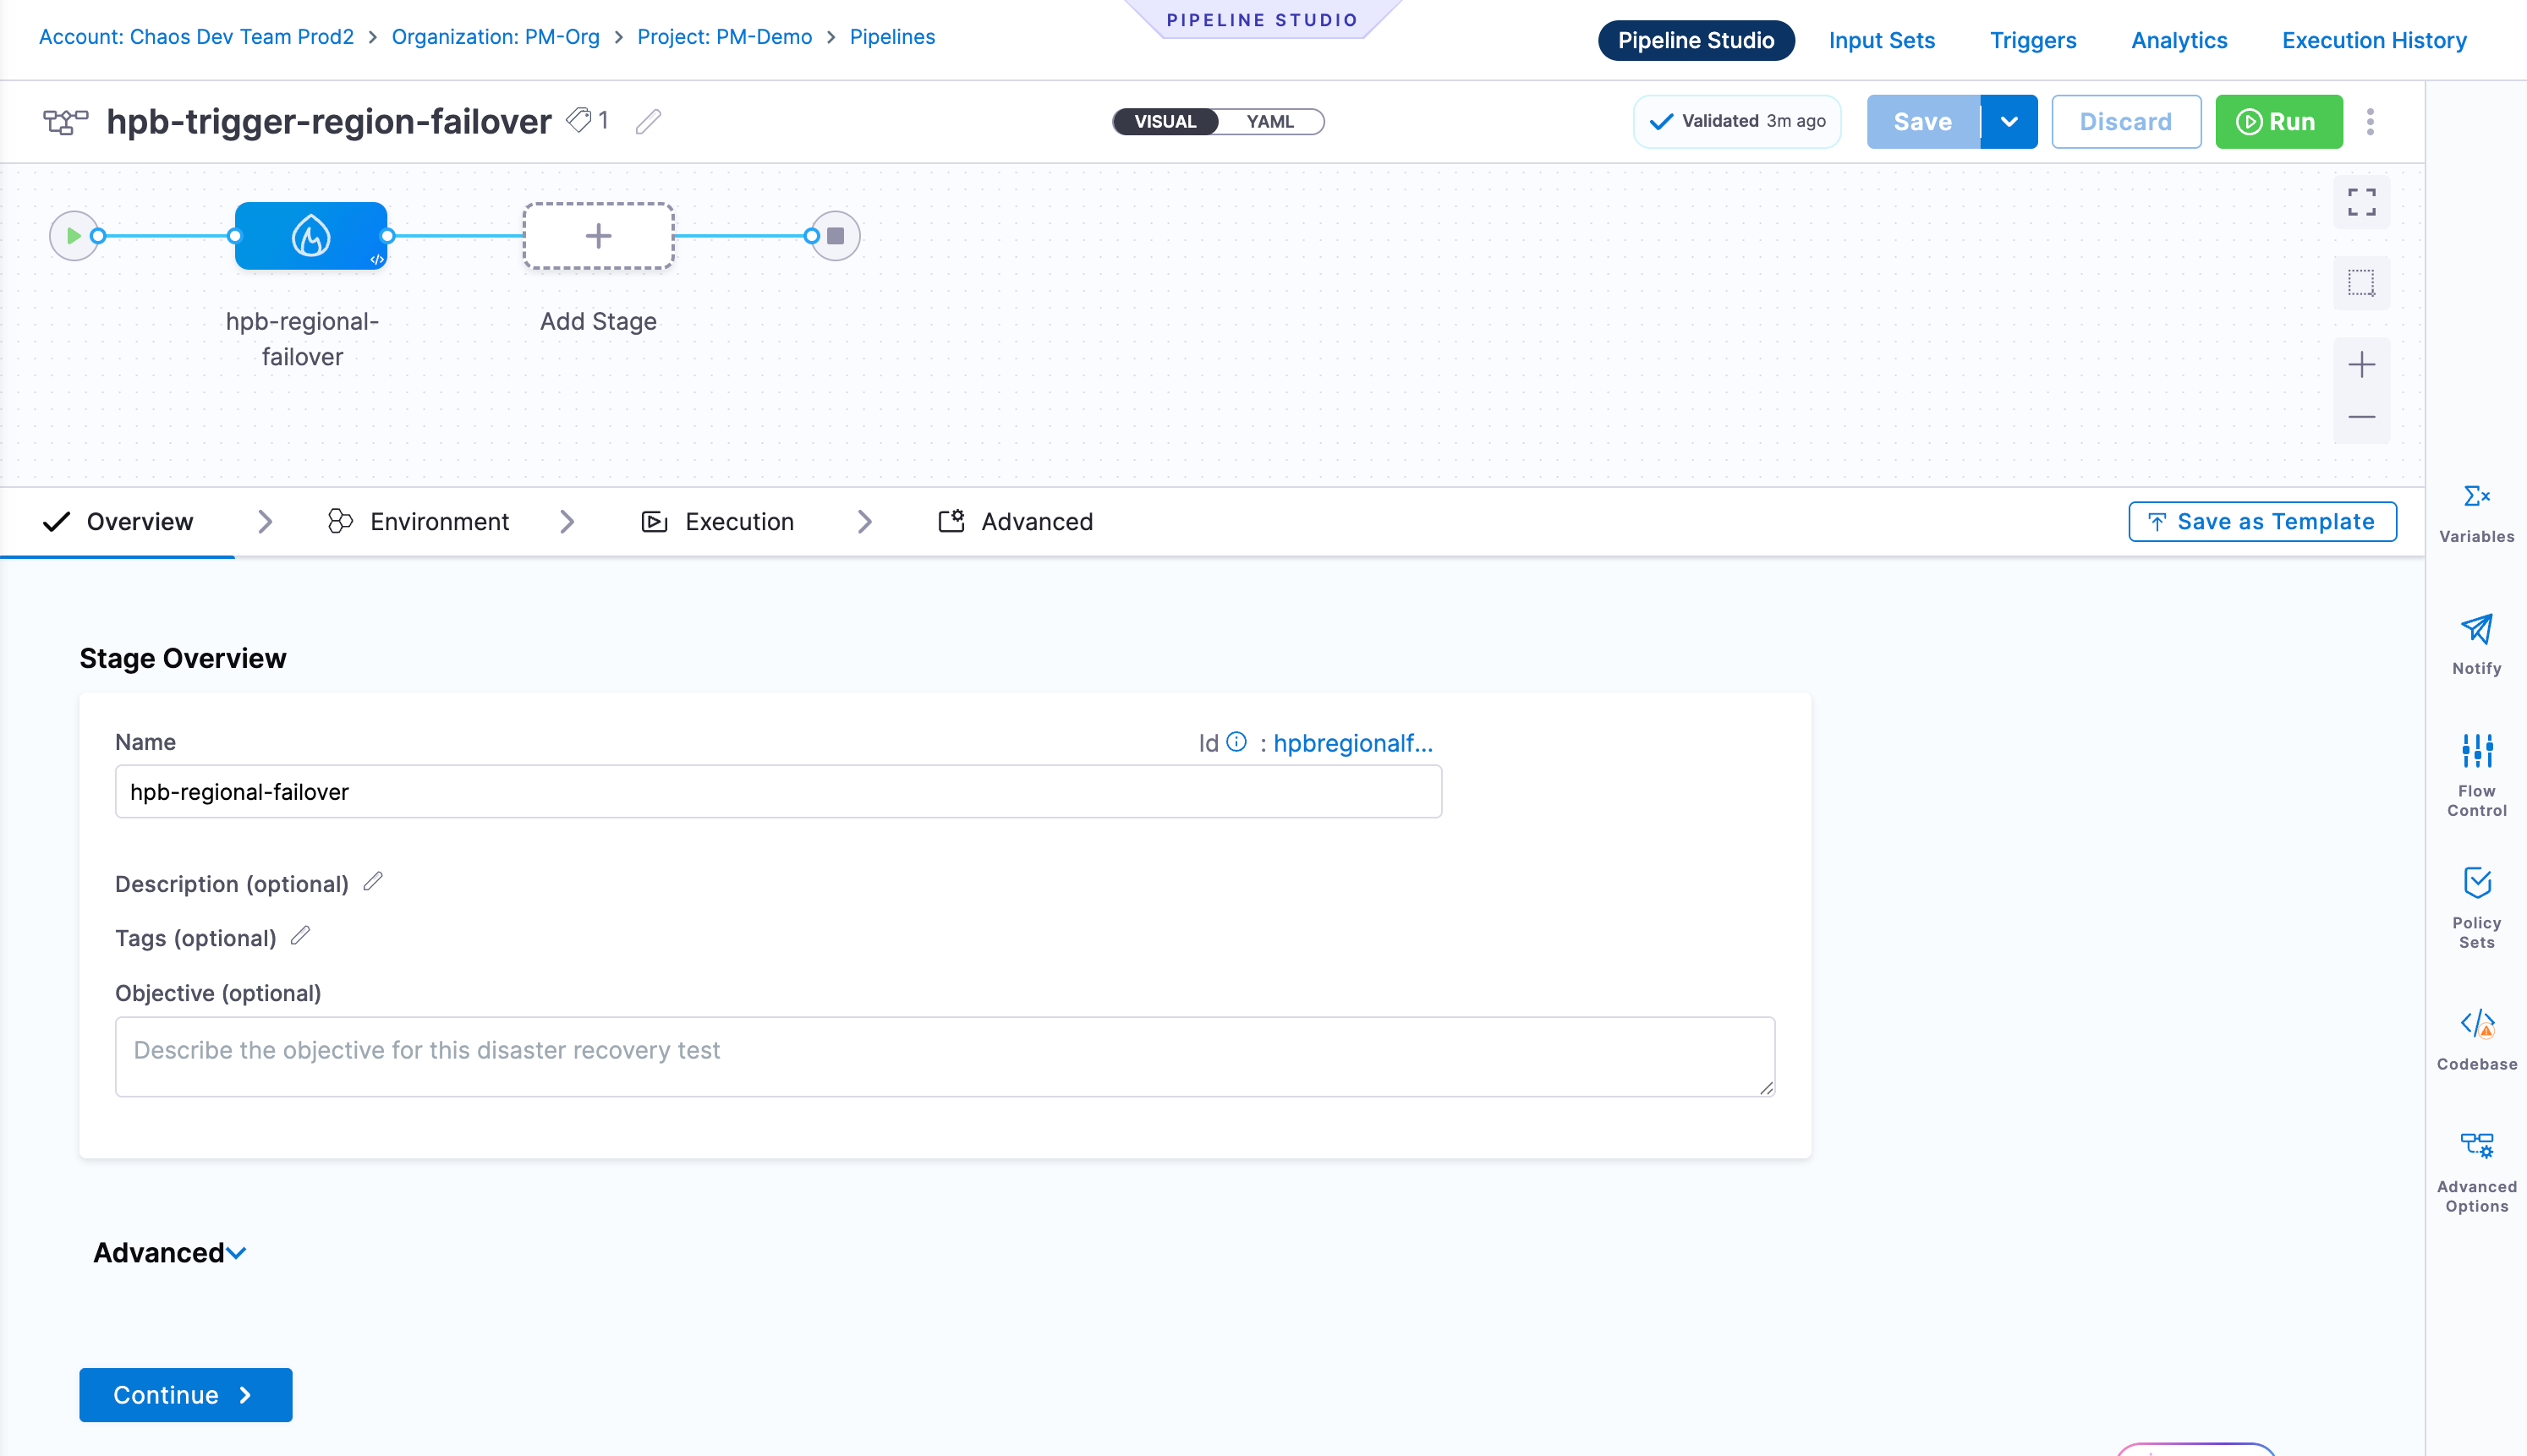
Click Continue to proceed to the Environment tab.
Environment Tab
The Environment tab has a Configuration section:
- Specify Environment: Select an existing environment from the dropdown or click + New Environment to create one
- Specify Infrastructure: Select the Chaos Infrastructure that connects to your target cluster, or click + New Infrastructure to create one. This is the Kubernetes infrastructure where Chaos Fault and Chaos Probe steps will execute.
Below Configuration, the Failure Strategy section defines what happens when the stage encounters an error:
- On failure of type: Select one or more failure types to handle:
- Authentication Errors, Connectivity Errors, Timeout Errors, Authorization Errors
- Verification Failures, Delegate Provisioning Errors, Unknown Errors
- Policy Evaluation Failures, Execution-time Inputs Timeout Errors
- Approval Rejection, Delegate Restart, User Marked Failure
- Or check All Errors to catch everything
- Perform Action: Choose how to respond to the failure:
- Rollback Pipeline, Retry Step, Abort, Mark As Failure, Rollback Stage
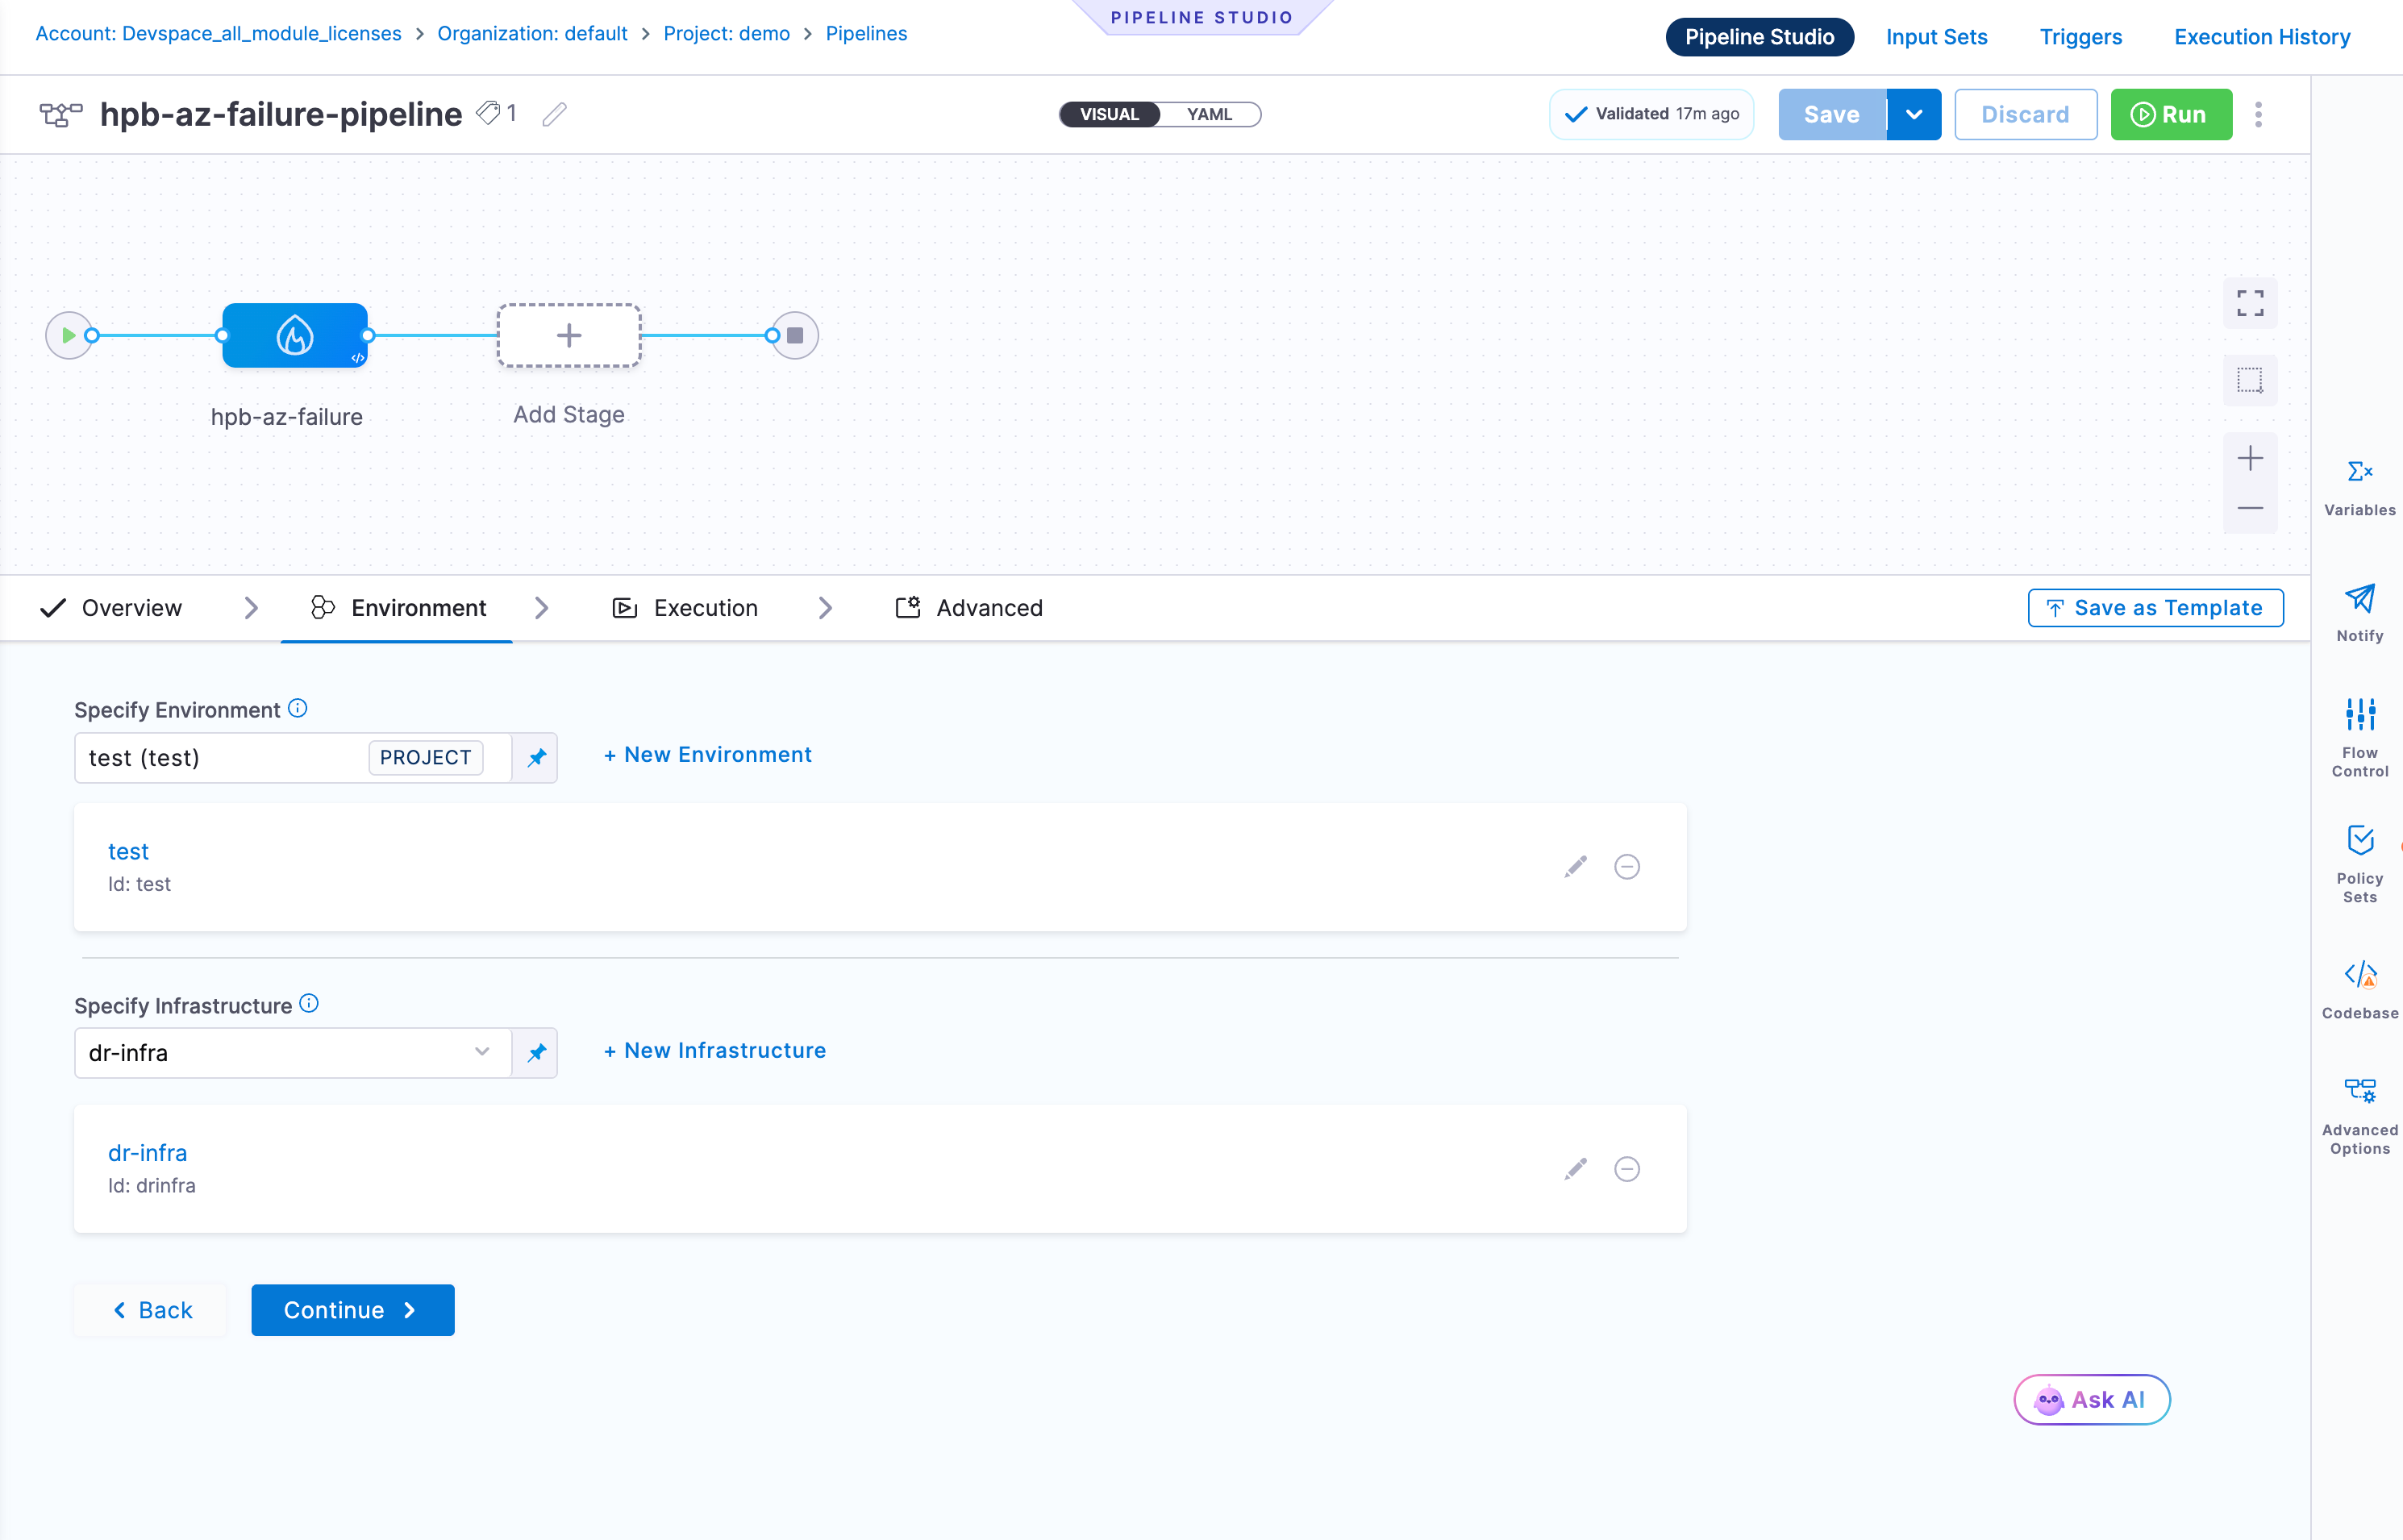
Click Continue to proceed to the Execution tab.
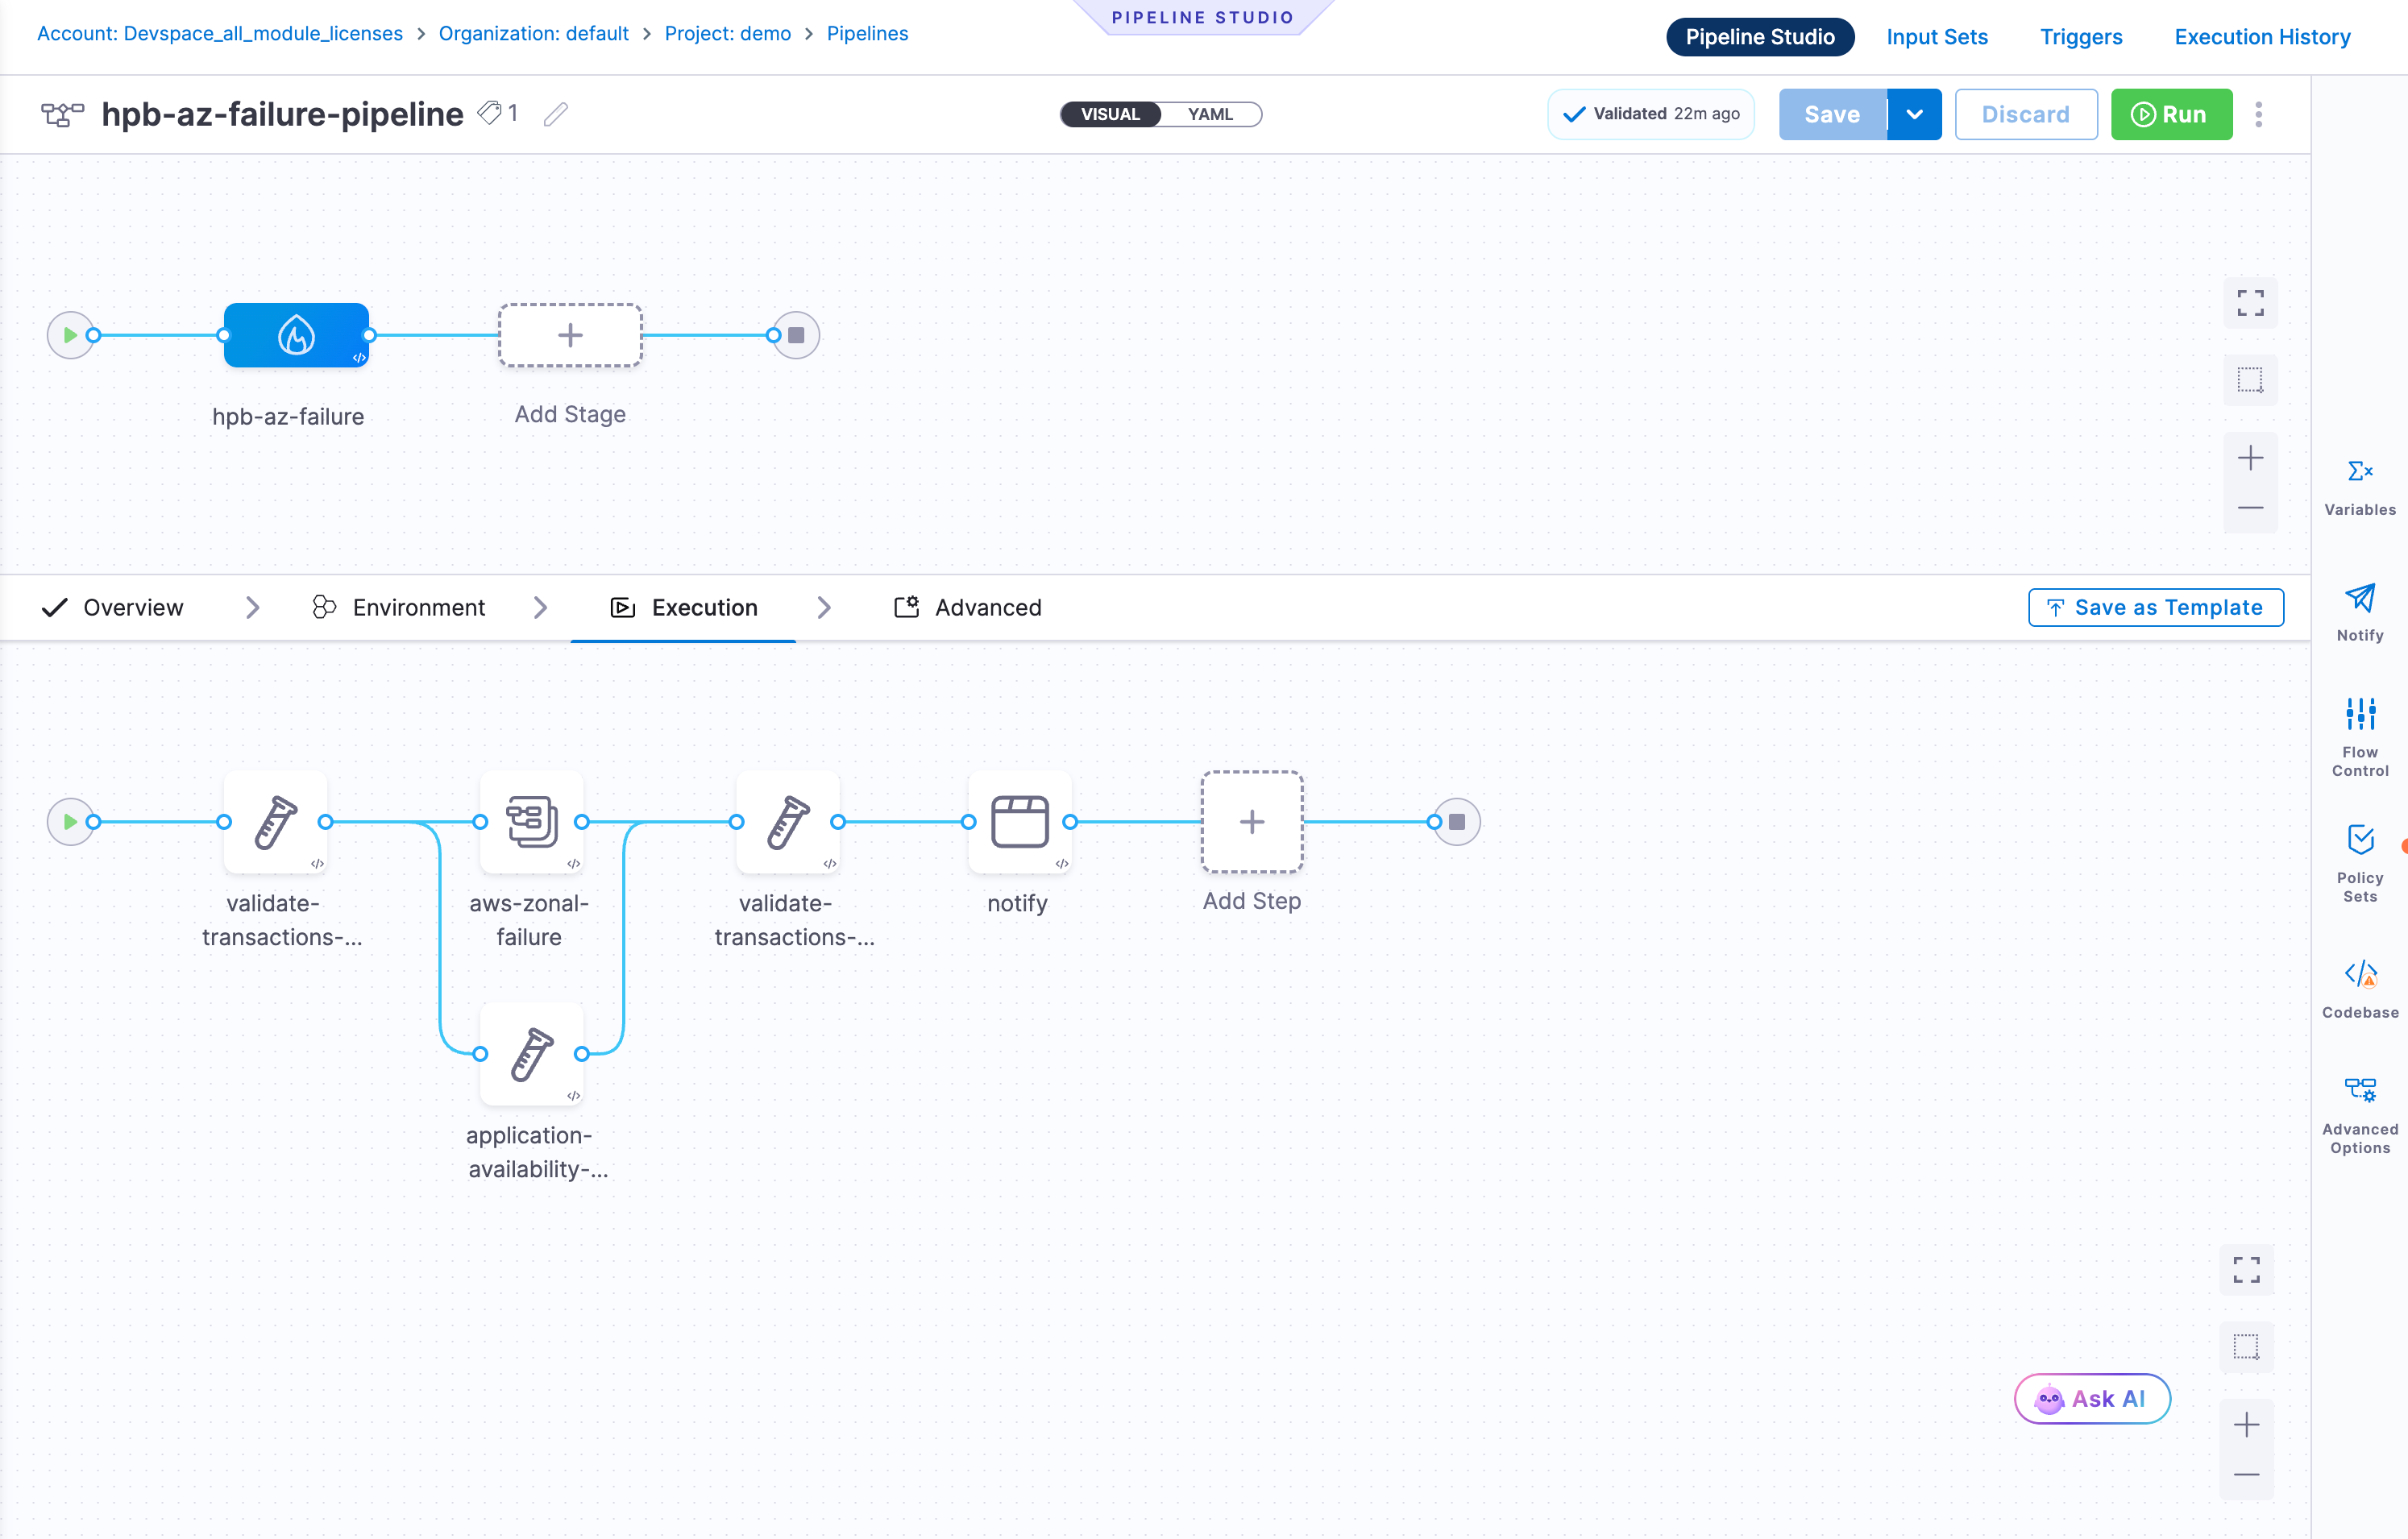
Execution Tab
The Execution tab is where you build the actual DR workflow. The canvas starts empty with an Add Step (+) node.
Click + to open the Step Library. Under the Disaster Recovery category, three step types are available:
| Step Type | Description |
|---|---|
| Chaos Probe | Validates the health of a Kubernetes workload (e.g., checks if pods are running). Use before and after a fault to verify baseline state and recovery. |
| Chaos Fault | Injects a failure into the target system (e.g., pod-delete, network-loss, CPU stress). Simulates the disaster scenario. |
| Chaos Action | Executes a predefined chaos action from your Resilience Testing module. |
Chaos Probe step fields
| Field | Description |
|---|---|
| Select Chaos Infrastructure | The Kubernetes infrastructure to run the probe against |
| Chaos Probe | Select a predefined probe (e.g., default-pod-level-probe) |
| Duration | How long the probe runs (e.g., 1m) |
Runtime Inputs for default-pod-level-probe:
| Input | Description | Example |
|---|---|---|
| TARGET_NAMES | Name of the workload to validate | frontend |
| TARGET_NAMESPACE | Kubernetes namespace of the target | boutique |
| TARGET_KIND | Kubernetes resource kind | Deployment |
Chaos Fault step fields
| Field | Description |
|---|---|
| Select Chaos Infrastructure | The Kubernetes infrastructure to inject the fault on |
| Chaos Fault | Select a fault type (e.g., pod-delete, pod-network-loss) |
Steps can be connected sequentially or in parallel depending on your recovery procedure. You can also add standard Harness steps (shell scripts, HTTP calls, approvals, notifications) alongside DR steps.
Advanced Tab
The Advanced tab provides stage-level controls:
Delegate Selector (optional): Pin this stage to run on a specific Harness Delegate by adding selector tags.
Conditional Execution: Control when the stage runs:
- If the pipeline executes successfully up to this point (default)
- If the previous pipeline or stage fails
- Always
- Or define a custom JEXL condition expression
Looping Strategy: Run the stage multiple times using one of three strategies:
- Matrix: Run across combinations of variables
- Repeat: Run a fixed number of times
- Parallelism: Run iterations in parallel
Failure Strategy (step-level): Defines failure handling for steps within the stage. Supports the same failure types as the Environment tab. Available actions at this level:
- Manual Intervention, Ignore Failure, Retry Step, Mark As Success, Abort
- Proceed with Default Values, Mark As Failure, Rollback Pipeline
Step 3: Save and Run
- Click Save to persist the pipeline
- Click Run to execute the DR test immediately
- Monitor real-time execution progress in Pipeline Studio
- Review full execution history under Execution History
Next Steps
- Pipeline Stage Reference: Complete field reference for all pipeline stage options
- Concepts: Understand RTO, RPO, environments, and failure strategies
- Chaos Testing: Combine DR testing with chaos experiments